on

For some, camp-side cooking involves boiling a pot of water, pouring it over a plastic cup of instant noodles, then reusing said cup the following morning as something to hold your morning brew. Don’t get us wrong. If this does it for you, then carry on as usual.

However, if freeze-dried food, tins with suspiciously long expiry dates, and processed meats aren’t for you, upping your portable camp kitchen game can elevate your meals from ‘meh’ to ‘mind-blowingly amazing.’ 

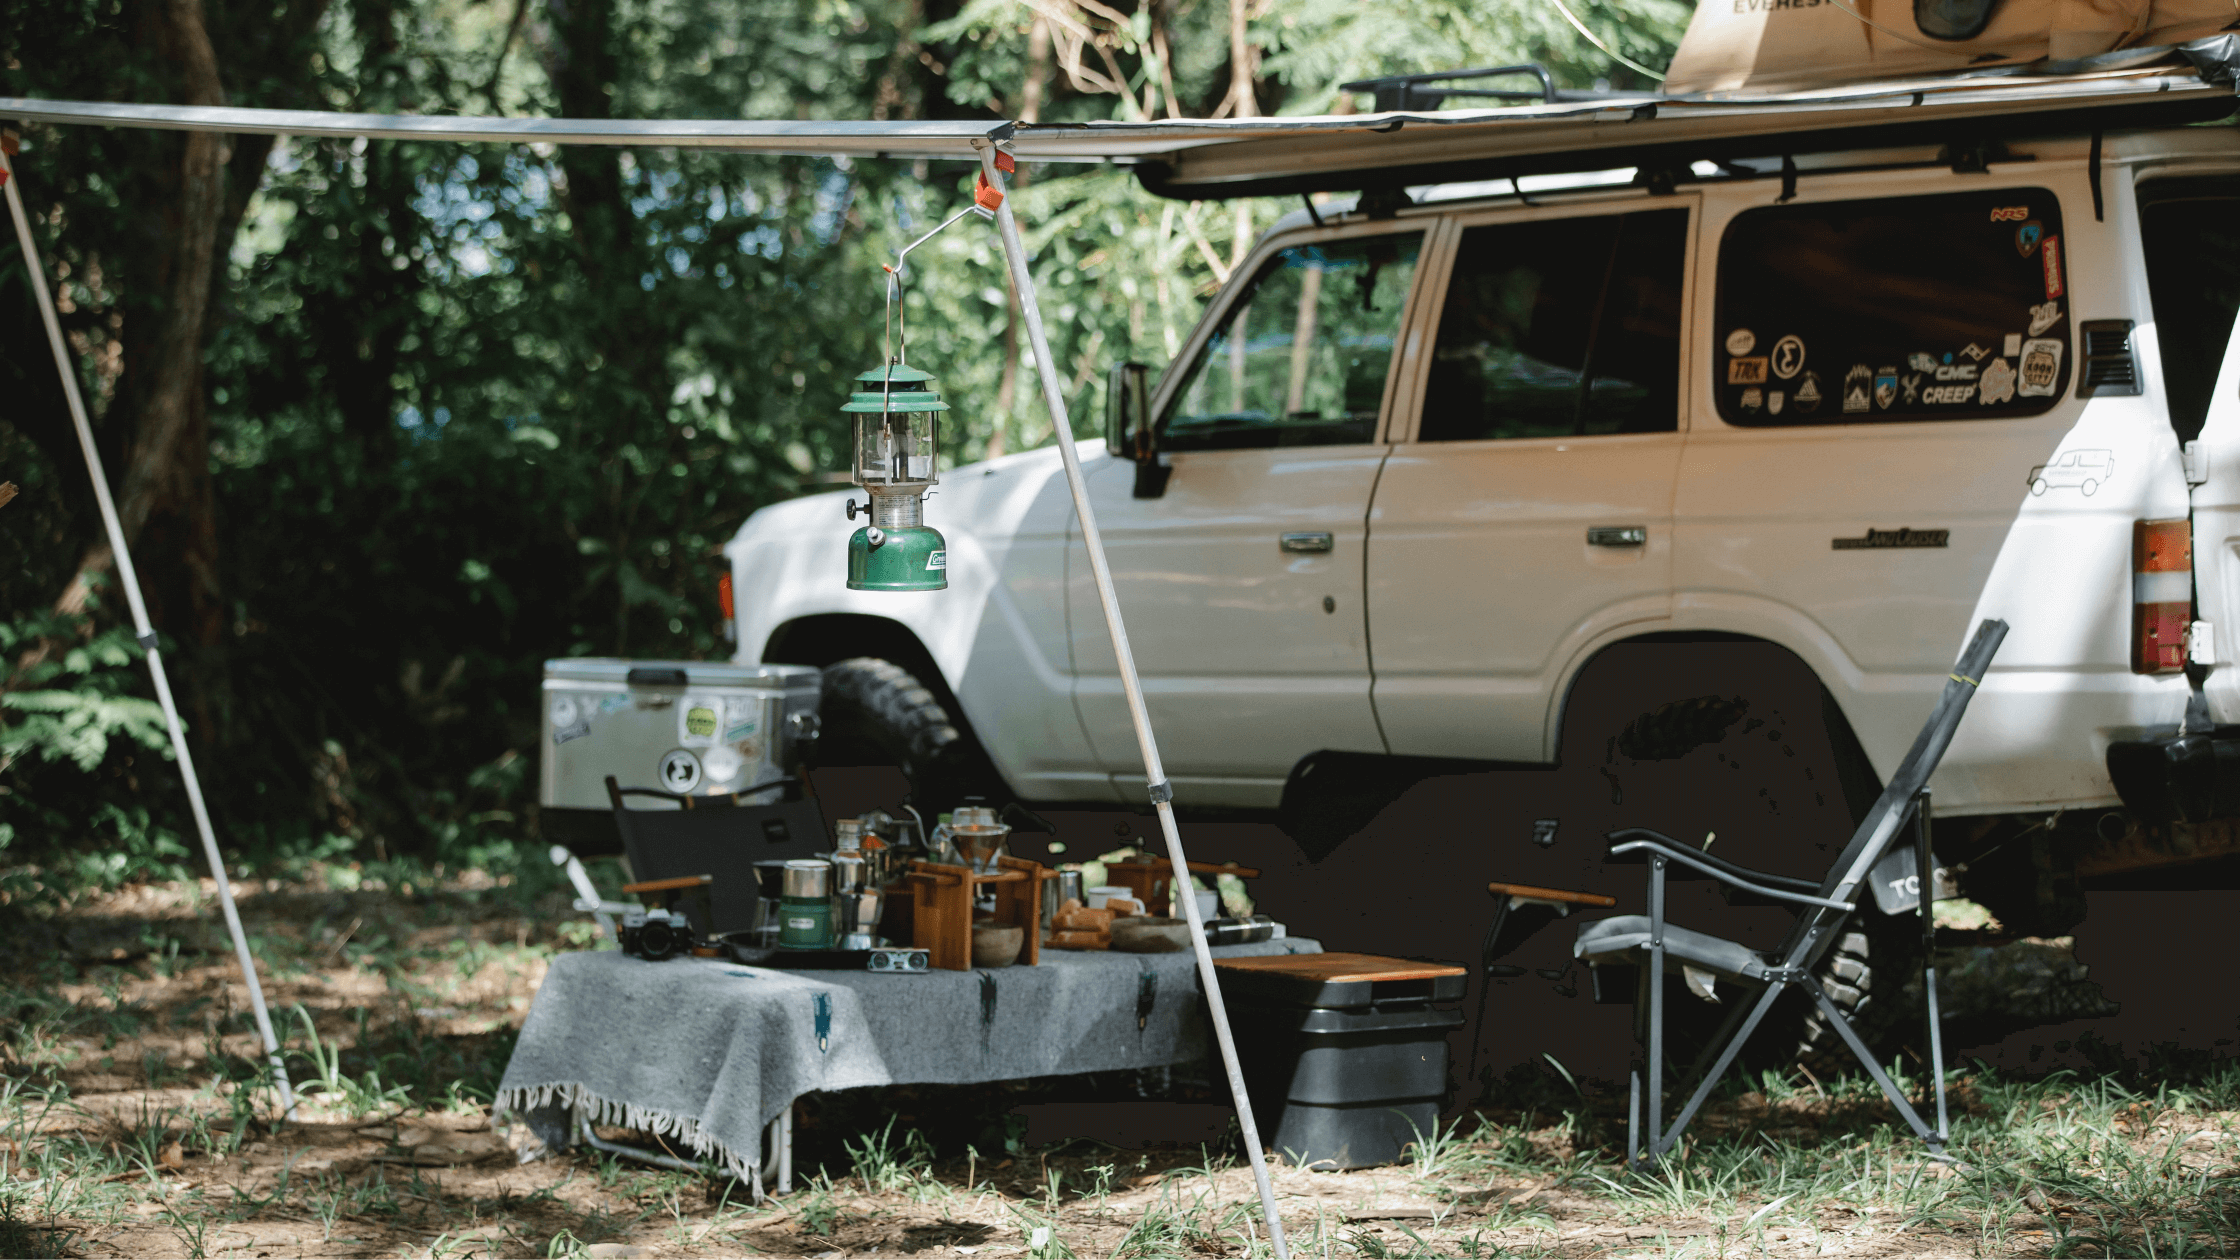
Just because you’re wilding it away from civilisation doesn’t mean you have to suffer in silence. With a few handy camp kitchen set-up ideas, a couple of useful accessories and a good idea of what you want to eat, you’ll be able to pull off your best Curtis Stone or Emma Dean no matter where you pitch up.

To help kick start your efforts and give you a little bit of inspo, here’s our guide to setting up the ultimate portable camp kitchen.

Gourmet Camp Cooking

Know Before You Go

Setting up the ultimate portable camp kitchen is all in the planning. Knowing where you are going, what is available nearby and what you want to cook will help shape the type of equipment and accessories you need to carry. It will also help eliminate many non-essentials, lightening the load and boosting fuel economy.

Some things to make a note of include:

  • Your destination (and its proximity to the nearest town).
  • How long do you plan on camping?
  • The time of year (to work out if cool storage is needed).
  • How many people are travelling on the trip?
  • Whether you want fast meals or gourmet creations.
  • How will you store your ingredients?
  • How do you plan on cooking (electric or gas?)
  • How will you clean up and deal with waste?

Portable Camp Kitchen Essentials

To elevate your culinary experience while making meals worthy of a standing ovation, you’re going to need a few basic essentials.

Kitchen Utensils

It’s surprising just how much you can do with a handful of kitchen utensils. While it’s tempting to empty your kitchen drawers in their entirety into your camping boxes, these are all you actually need to prepare anything to cook.

Chopping boardCan openerBottle opener
Sharp knivesStirring spoonCorkscrew
SpatulaTongsMeasuring cups
WhiskGraterMeasuring jug
Veg peelerServing spoonKnife sharpener

Cookware

Again, cookware is something you’ll choose to fit your cooking equipment and the types of meals you intend on preparing. To give you an idea of what to pack and take with you, here are a few essentials.

Frying PanSkilletBamboo steamer
Pots with lidsDutch ovenMeat grill 
Glass dishesMicrowave boxesWok

Tableware

While paper plates, plastic cutlery and single-use straws may be a quicker way to plate up, eat and clean up, they are not great for the environment. Reusable dishes and utensils may cost slightly more, but you get a return on investment after a few uses, and they are less likely to end up polluting ecosystems. In fact, the easiest thing to do is simply take the tableware you use at home with you. Some things to remember to pack include:

  • Plates, bowls and drinking glasses.
  • Mugs and cups.
  • Knives, forks and spoons.
  • Placemats or lap mats.
  • Seasoning shakers.
  • Napkins.
  • Seasoning and sauce bottles.
Camp Kitchen Essentials

Clean-up

With cooking comes dishes and pans, so you’ll want to set up a wash station near your camp kitchen. If your trailer or RV doesn’t have a fold-out wash station, a folding table with a collapsible wash basin and a drying rack is all you need.  You’ll also want a closable waste bin to put any scraps in – especially if you don’t want local wildlife trying to break in at night. 

The easiest way to deal with dishes and pans when camping is:

  • Fill a basin or container with hot water and biodegradable dish soap.
  • Fill another container with plain hot water.
  • Drop dishes into the hot water to soak. Fill pans with hot soapy water.
  • Scrub dishes, cutlery, and pans to remove any food.
  • Dip washed plates and utensils in clean hot water to rinse.
  • Leave to air dry or wipe down with a cloth.
  • before disposing, empty water through a cheesecloth to catch any debris.

Food Storage

Unless you like the thought of sharing your trailer or RV kitchen with wasps, fire ants, and dingoes, you’ll want to consider how and where you’ll store your food. If you’ve got a 12v power system, then a portable fridge is ideal for storing meat, dairy and cooked food. Cool boxes are also a great option if you have somewhere selling ice or ice packs nearby.  

Here are some of the most common food storage options when camping:

  • Tupperware boxes 
  • Zip-lock food bags
  • Portable fridge/freezer
  • Portable cool box/ice box
  • Takeout containers
  • Mason jars
  • Kitchen foil

You’ll also want to think about which ingredients to take with you. For the most part, you should be able to stock up on fresh meat, dairy and eggs on your way. If you can’t, then you’ll want to pack and cold-store them before you leave. A few essentials to remember include:

Seasoning sachetsSalt & pepperGarlic/tomato paste
Pre-mixed pastesStock cubesSugar  
Sauce bottlesMustard Soy sauce
UHT MilkRoot vegPasta & Rice

Top Camp Kitchen Accessories

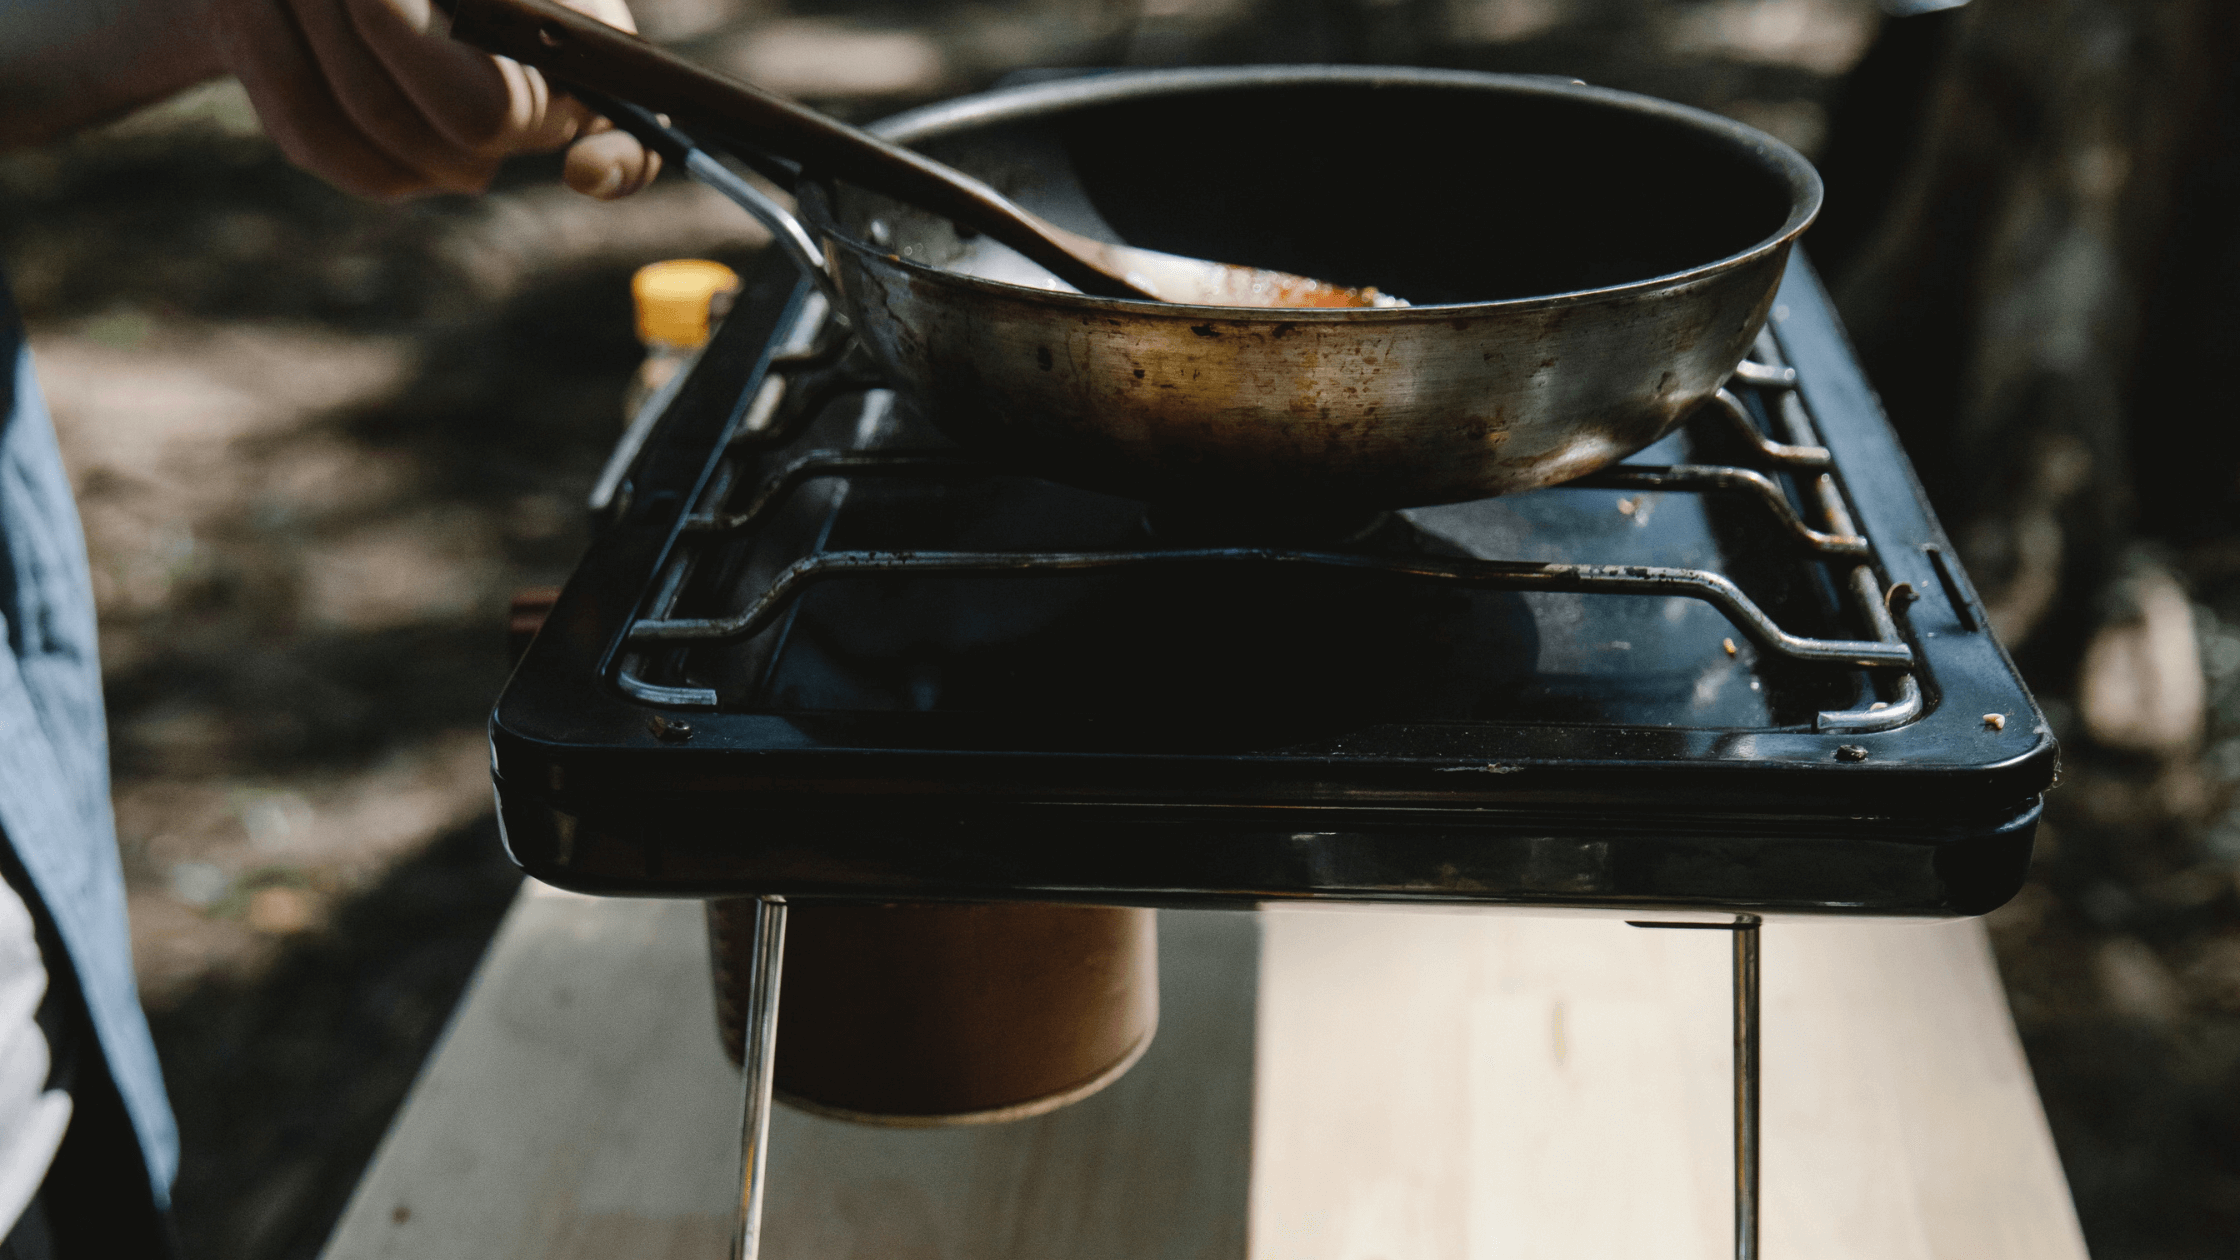
When it comes to portable camp kitchens, the ways you cook will vary depending on your setup. In the past, a simple BBQ and fire were enough to grill hotdogs over an open flame, but nowadays, a combination of electric, gas and charcoal is preferable. If you want to take your microwave, fridge and convection stove top with you but are worried about not having access to mains power, the ArkPak 73- & ArkPak 730 Pure Sine provide portable power – no matter where you are. 

Obviously, charging and maintaining your power supply battery is important, which is where the DC-DC Battery Charger and Solar Panels come into play. We’re lucky enough to live in a country that enjoys generous amounts of sunshine, so why not take advantage of it to power your portable camp kitchen? If you’re after something a little beefier for your camper trailer or RV, the XO Tech Power Distribution Hub is a fantastic choice. 

Once you’ve got your power sorted, here are some ideas of what to carry with you.

  • Microwave or toaster oven
  • Convection stove top
  • Toaster and kettle
  • Butane camping stove
  • Charcoal BBQ
Camp Kitchen Stove Top

Looking For More?

With over 40 years in the RV, trailer and camping industry, you can count on ARK to deliver quality parts and accessories designed to elevate your trip. Take advantage of decades of hands-on experience and knowledge at this independent, Australian-owned specialist.

Whether you’re looking to power up your camper-trailer, RV or caravan or looking for ways to boost your comfort and safety but not sure where to start? Get in touch today to talk with our experts, who are always more than happy to help.

on

If you’re a caravan or camper trailer owner, you know the importance of stability on your adventures. Imagine being out in the bush, surrounded by breathtaking scenery, and setting up camp for the night. But wait, your caravan is wobbling on uneven ground, and things inside are sliding all over the place. Not exactly the ideal setup, right?

That’s where ARK’s XO Series Corner Steadies come in. An essential piece of kit for your trailer, corner steadies ensure your caravan stays rock-solid no matter the terrain. ARK’s XO Series Corner Steadies are the ultimate solution for every outdoor adventure.

In this step-by-step guide, we’ll walk you through the installation process and explain why these caravan stabiliser legs should be at the top of your list.

What Are Caravan Stabiliser Legs?

Before we dive into the nitty-gritty of installing ARK XO Corner Steadies, let’s first understand the importance of caravan stabiliser legs. Think of them as your trusty companions that keep your caravan stable and secure when you’re parked up in the great outdoors. These legs, also known as corner steadies, are designed to support and prevent your caravan from rocking or swaying.

The XO Series Difference

ARK’s XO Series Corner Steadies go beyond traditional stabilisers. The XO Series brings some serious muscle to the game with its robust 19mm hex drive, compatible with corner steady winding handles, wheel braces, and impact drivers. These corner steadies also double as jacks, giving you the power to easily change your trailer’s tires or recover your vehicle from tricky off-road situations.

Additionally, these corner steadies can be used with a high-lift jack base, providing a wider footprint for enhanced stability on soft ground or off-road adventures. Available in 650mm and 850mm variants, with a weight rating of 875kg in the 90-degree position, they’re built to withstand the harshest conditions.

Preparing for Installation

Alright, let’s get down to business. Before we start installing ARK XO Corner Steadies, there are a few things you need to have on hand: 

  • Firstly, make sure you have the necessary tools and materials for the job. If you’re planning to weld the mounting brackets to your trailer’s chassis, make sure you have experience with welding techniques. If not, it’s best to seek assistance from professional fabricators to ensure a secure and safe installation.
  • Now, if you’re retrofitting corner steadies to existing industry standard brackets, you’re in luck! The XO Series Corner Steadies can be easily installed without welding, using 8mm bolts and 78mm centres. Just be sure to double-check the compatibility of your brackets with the XO Series Corner Steadies before starting the installation process.

Step-by-Step Installation Guide Safety Considerations

It’s time to get our hands dirty and install these sturdy corner steadies. Just follow these step-by-step instructions, and you’ll be good to go:

  1. Grab your trusty socket, spanner, or impact driver and undo the two nuts and bolts from your old caravan corner steady.
  2. Once the old unit is free, remove it from your caravan or camper trailer. Give it a nod farewell, knowing that the time to retire has come.
  3. Now, lift the ARK XO Corner Steady into place. Make sure the winder and handles are pointing outwards for ease of use.
  4. With the corner steady in position, replace the nuts and bolts to secure it firmly.
  5. Before we move on, let’s do a quick clearance check. Pull out the release handle and place the corner steady in its travel position. Ensure there’s enough space for it to move freely without any obstructions.
  6. That’s one corner done! Now rinse and repeat the installation process on the remaining corners of your trailer.
  7. Congratulations! You’ve successfully installed the ARK XO Corner Steadies on your 4WD beast. Give yourself a pat on the back.

How to Level a Caravan or Camper Trailer

Now that your ARK XO Corner Steadies are securely in place, you have the power to level your caravan or camper trailer with ease. No more wobbles and unbalanced setups for you, mate! 
To level your vehicle on uneven terrain, simply adjust the length of the corner steadies. This ensures a comfortable and stable living space, regardless of the slope or uneven surface beneath you.

Ensuring Stability: Using Caravan Stabiliser Legs

ARK’s XO Series Corner Steadies take stability to a whole new level, giving you peace of mind on your 4WD adventures. When deployed, these corner steadies function as robust stabilisers, working tirelessly to eliminate unnecessary movement and rocking. Whether you’re enjoying a brew inside your caravan or setting up camp for the night, you can rest assured that everything will stay in place, even in the bumpiest conditions.

Maintaining Your ARK XO Corner Steadies

Regular maintenance is key to ensure the longevity and optimal performance of your ARK XO Corner Steadies. After all, these trusty steadies go through a lot to keep your caravan stable, and they deserve some TLC in return. Here are a few maintenance tips to keep them in top-notch condition:

  • Before each trip, inspect your corner steadies for any signs of wear or damage, such as loose bolts or cracks. Address any issues promptly to avoid further complications down the road.
  • Keep your corner steadies clean and free from dirt and grime. A quick wipe-down after your adventures will do the trick.
  • Lubricate any moving parts, such as the winder and release handle, using recommended products. This ensures smooth operation and prevents any annoying squeaks or jams.
  • Regularly check the tightness of the bolts and brackets. It’s always better to be safe than sorry, so give them a good once-over before hitting the road.

Remember, maintaining your ARK XO Corner Steadies is not only about prolonging their lifespan but also ensuring your safety and the stability of your caravan. So, give them the attention they deserve, and they’ll continue to serve you faithfully on countless 4WD adventures.
If you’re using our trusty caravan corner steady equipment, you’ll likely also need some jockey wheels. Check out this handy guide on how to care for your XO Series Jockey Wheels to prolong their lifespan, too.

off road adventure australia

Get in Touch With the Experts at ARK

Get ready to take your 4WD adventures to the next level with ARK XO Corner Steadies. Embrace the stability, conquer the roughest terrains, and create memories that will last a lifetime. It’s time to hit the tracks and experience the sheer joy and thrill of off-road exploration like never before!

If you still have questions or need some expert advice, don’t hesitate to reach out to the knowledgeable folks at ARK. We’re pros when it comes to gear for your caravan or camper trailer, and we’ll have your back every step of the way.

Looking for even more must-have accessories? Check out our blog on the best camper trailer tools for your next off-roading adventure.


on

Part 4 of Mitch’s complete trailer rebuild A jockey wheel is a great, affordable addition to any trailer. Before you attach the new jockey wheel, remove any wiring and brackets that are in the way. Find a suitable position that won’t interfere with the winch post or trailer hitch.

Hold the jockey wheel vertically in the rough location it is to be fastened (my trailer is upside down, due to the total rebuild). Align the holes in the mounting plate with the draw bar and insert two U-bolts surrounding the draw bar in the process.

With the mounting plate loosely attached to the drawbar, operate the jocke wheel through its full range of motion to check for clearance of the hitch point and the winch post. In my case I had to move the mounting plate back around two inches.

Once you’re happy with the location of the mounting plate, tighten the four bolts so that they are nice and firm. Operate the wheel through the full range of motion again and check for clearance. Mark where the mounting plate is so that when you remove it for painting, you know exactly where it needs to be.

To bring the trailer back to life, it’s time for a coat of paint. There are a few different methods you can employ, for example spraying or rolling. Killrust™ offers pressure packs or paint tins – I opted for the paint tin and roller. After you have prepared the surface and wiped it with wax and grease remover, it’s time to roll on the paint. Make sure you don’t go overboard as too much paint will cause runs

Timber split, wires frayed and blown bulbs. It’s time for an updated light board! There are so many designs on the internet these days; choosing what is best suited to your boat can be quite confusing.

The new telescopic trailer light board from ARK™ takes the guess work out of buying a new light board. Its lightweight and compact design is very easy to use with eight different adjustments from 85cm to 185cm, and it also comes with a built-in number plate holder and light. Easily the best light board on the market.

As you can see, the end result has turned out pretty good. You could spend extra money on a pneumatic spray gun and compressor but at the end of the day, that’s the price of a new rod and reel combo!

on

Two of the fastest wearing parts on your trailer are the rollers and skids, which bear the brunt of the punishment from the salt and the sun’s UV rays. The polyurethane starts to break down after years of harsh treatment making it difficult to selflaunch and recover your boat.

You’ll find many of the older trailers will have bulky timber skids. Yes these are larger than the new lightweight ARK polyurethane skids, as well as being twice the weight. They also tend to wear a lot faster, preventing them from moving freely.

To obtain the right height of the rollers, you want to have a starting point. Firstly, install all rollers, adjusting them enough that the boat will clear the wheel arches and be as level as possible.

At the rear of the trailer, the same principle applies. The centre roller has two adjustments – try to keep them even or irregular wear will occur.

Now to make those rollers work! The easiest way to do this is to load the boat back onto the trailer with the aid of a mate. Lie underneath the boat and slide the rollers up to meet the bottom of the hull – make sure you keep the rollers straight.

This is the same for the rest of the rollers and skids. To reduce your boat from thumping around on the trailer while driving, have about an inch gap between the boat and the wheel arches. If the boat needs lifting in places, the easiest way I have found is to utilise a car jack and some pieces of timber – it beats trying to lift it yourself.

If your winch looks anything like this, please do yourself a favour and throw it into the bin. Not only is this dangerous but it could be a massive inconvenience when your boat is left stranded at the boat ramp. The replacement ARK winch is much bigger and also is geared much lower, which means less strain on the winch and much easier operation for the user.

Over ten years of rust is caked onto this trailer and all the components. Invest in some WD-40 to help loosen the attaching hardware and fit the new high-quality ARK components (put a link here to Jockey Wheel U Bolt Set)

Now to line up the new winch. Mark a centre line where the winch is going to sit – hopefully the holes from the old winch line up with the new one. If only one lines up like it did for me, put the new bolt through the hole and tighten it up just enough so the winch can just move. Make it as straight as possible and mark out the new hole with the drill.

I’m replacing the hitch as well as the old one is fairly worn. If you don’t have a jockey wheel, the hardware here can be very stubborn to replace as this is where the trailer cops most of its punishment. In my case I had the grinder handy which made light work of the bolts.

Simply clean back the surface of the trailer so it sits true, then it’s just a matter of putting the new bolts through and tightening them up.