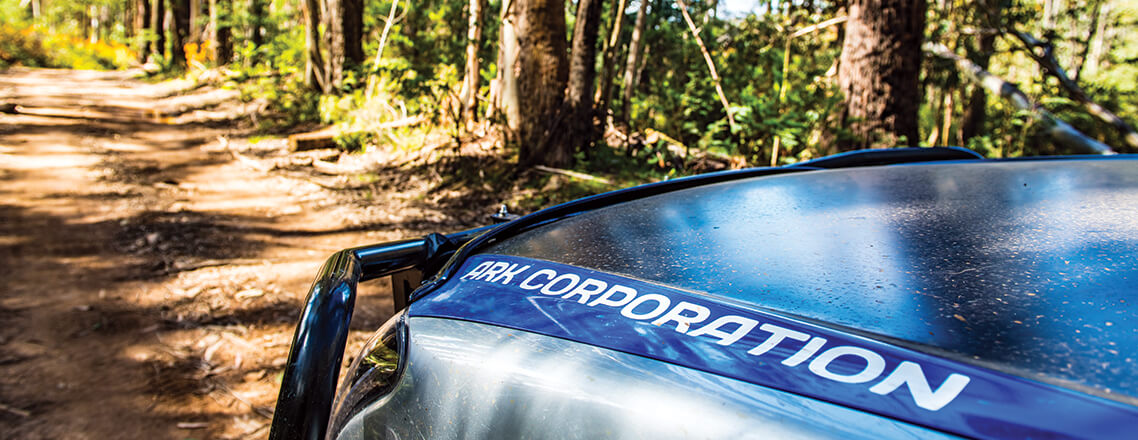
Founder of Ark Richard Arakelian a fitter and turner by trade saw a need and demand in Australia for tow balls in 1978
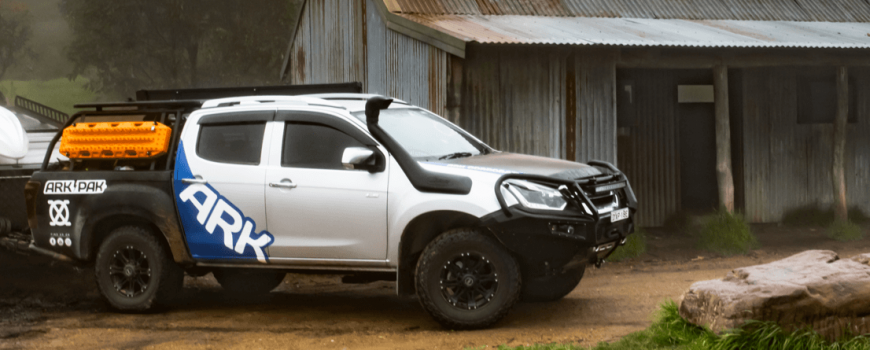
The ARK Power Distribution Hub is here. Download the Smart Hub app today


Founder of Ark Richard Arakelian a fitter and turner by trade saw a need and demand in Australia for tow balls in 1978
Part 4 of Mitch’s complete trailer rebuild A jockey wheel is a great, affordable addition to any trailer. Before you attach the new jockey wheel, remove any wiring and brackets that are in the way. Find a suitable position that won’t interfere with the winch post or trailer hitch.
Hold the jockey wheel vertically in the rough location it is to be fastened (my trailer is upside down, due to the total rebuild). Align the holes in the mounting plate with the draw bar and insert two U-bolts surrounding the draw bar in the process.
With the mounting plate loosely attached to the drawbar, operate the jocke wheel through its full range of motion to check for clearance of the hitch point and the winch post. In my case I had to move the mounting plate back around two inches.
Once you’re happy with the location of the mounting plate, tighten the four bolts so that they are nice and firm. Operate the wheel through the full range of motion again and check for clearance. Mark where the mounting plate is so that when you remove it for painting, you know exactly where it needs to be.
To bring the trailer back to life, it’s time for a coat of paint. There are a few different methods you can employ, for example spraying or rolling. Killrust™ offers pressure packs or paint tins – I opted for the paint tin and roller. After you have prepared the surface and wiped it with wax and grease remover, it’s time to roll on the paint. Make sure you don’t go overboard as too much paint will cause runs
Timber split, wires frayed and blown bulbs. It’s time for an updated light board! There are so many designs on the internet these days; choosing what is best suited to your boat can be quite confusing.
The new telescopic trailer light board from ARK™ takes the guess work out of buying a new light board. Its lightweight and compact design is very easy to use with eight different adjustments from 85cm to 185cm, and it also comes with a built-in number plate holder and light. Easily the best light board on the market.
As you can see, the end result has turned out pretty good. You could spend extra money on a pneumatic spray gun and compressor but at the end of the day, that’s the price of a new rod and reel combo!
Two of the fastest wearing parts on your trailer are the rollers and skids, which bear the brunt of the punishment from the salt and the sun’s UV rays. The polyurethane starts to break down after years of harsh treatment making it difficult to selflaunch and recover your boat.
You’ll find many of the older trailers will have bulky timber skids. Yes these are larger than the new lightweight ARK polyurethane skids, as well as being twice the weight. They also tend to wear a lot faster, preventing them from moving freely.
To obtain the right height of the rollers, you want to have a starting point. Firstly, install all rollers, adjusting them enough that the boat will clear the wheel arches and be as level as possible.
At the rear of the trailer, the same principle applies. The centre roller has two adjustments – try to keep them even or irregular wear will occur.
Now to make those rollers work! The easiest way to do this is to load the boat back onto the trailer with the aid of a mate. Lie underneath the boat and slide the rollers up to meet the bottom of the hull – make sure you keep the rollers straight.
This is the same for the rest of the rollers and skids. To reduce your boat from thumping around on the trailer while driving, have about an inch gap between the boat and the wheel arches. If the boat needs lifting in places, the easiest way I have found is to utilise a car jack and some pieces of timber – it beats trying to lift it yourself.
If your winch looks anything like this, please do yourself a favour and throw it into the bin. Not only is this dangerous but it could be a massive inconvenience when your boat is left stranded at the boat ramp. The replacement ARK winch is much bigger and also is geared much lower, which means less strain on the winch and much easier operation for the user.
Over ten years of rust is caked onto this trailer and all the components. Invest in some WD-40 to help loosen the attaching hardware and fit the new high-quality ARK components (put a link here to Jockey Wheel U Bolt Set)
Now to line up the new winch. Mark a centre line where the winch is going to sit – hopefully the holes from the old winch line up with the new one. If only one lines up like it did for me, put the new bolt through the hole and tighten it up just enough so the winch can just move. Make it as straight as possible and mark out the new hole with the drill.
I’m replacing the hitch as well as the old one is fairly worn. If you don’t have a jockey wheel, the hardware here can be very stubborn to replace as this is where the trailer cops most of its punishment. In my case I had the grinder handy which made light work of the bolts.
Simply clean back the surface of the trailer so it sits true, then it’s just a matter of putting the new bolts through and tightening them up.
Part two of Mitch’s complete trailer rebuildPRODUCTS REQUIRED
You can pick one of these complete hub and bearings up from ARK for around $60. This will include bearing kits, bearing races, dust cap and hub. Before you leap into this, it’s a good idea to lay all the components out in order so that it takes all the guesswork out.
Time to get messy – grab some disposable gloves and marine-based bearing grease. To pack bearings, wipe a good dollop of grease into the palm of one hand. With the other free hand, use a rolling motion to squeeze the grease through the bearing rollers. You want to see grease being pushed all the way through – do this to the inner and outer bearing.
After many years spent up and down the boat ramp, the hubs and bearings on the trailer can start to get a tad neglected. Despite being one of the easiest parts to replace for any DIY bloke, it can be a complete deal-breaker.
With the leftover grease in the palm of your hand, wipe all bearing surfaces on the axle, threads and inner and outer race.
The last stage of the hub is the dust cap. No need to panel beat this into place – just a light tap around the edge and it will fall into place.
Fit the ARK dust cap before tapping into place.
There are so many tyres out on the market these days, but it’s worth investing some coin on decent tread as it’s the only thing that keeps your trailer on the road. I went for a larger diameter to give me some more clearance when off the beaten track.
Once you have packed all bearings with grease, it’s time to assemble the hub. Place the inner bearings in first (the bearings will only go in one way), followed by the waterproof rubber seal then simply turn over and put the outer bearing in.
Slide the complete hub straight onto the axle; try not to damage any of the bearing surfaces as you will reduce the life of the hub. Tighten the nut all the way up to seat the bearings, then back it off about a quarter of a turn – you want to achieve no play. Once split-pinned, pack with grease so water can’t seep into the hub. This means more time fishing and less time on the side of the road.
This piece of the kit is one of the best inventions out there, it’s known as the Trailer Rescue Kit. The hub saver comes as a complete hub on an extension bar so that you can mount your spare wheel onto it. The extension bar is held into place with two U-bolts and a set of lock nuts. So if your bearings let go simply, slide on a complete hub – just keep in mind that you will need a spare split pin handy.