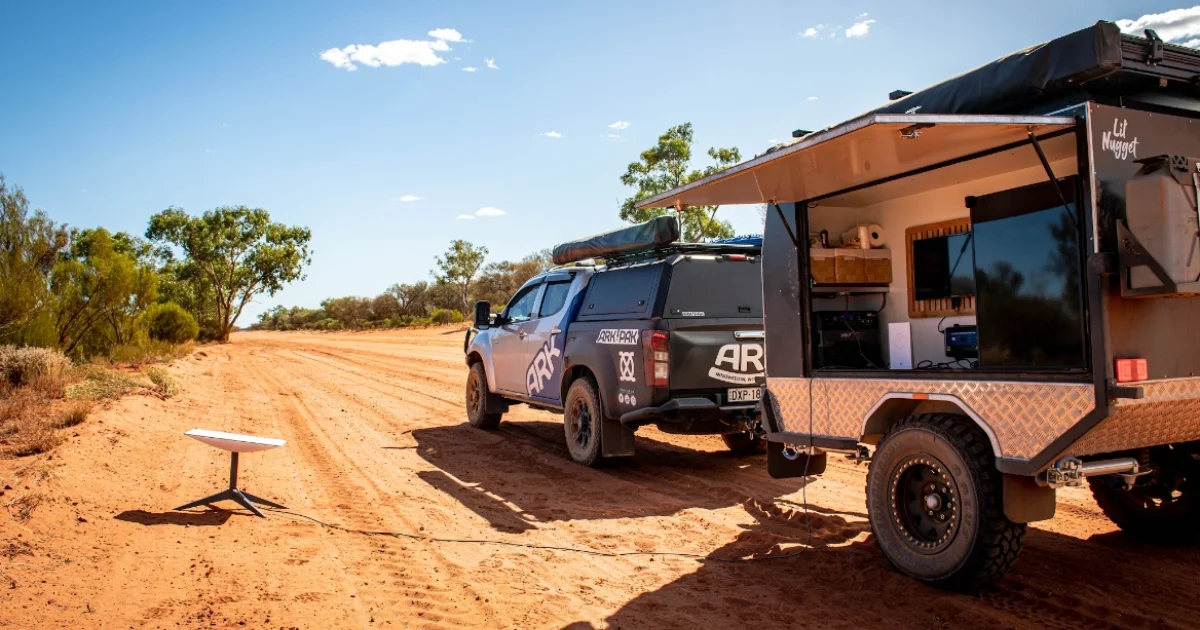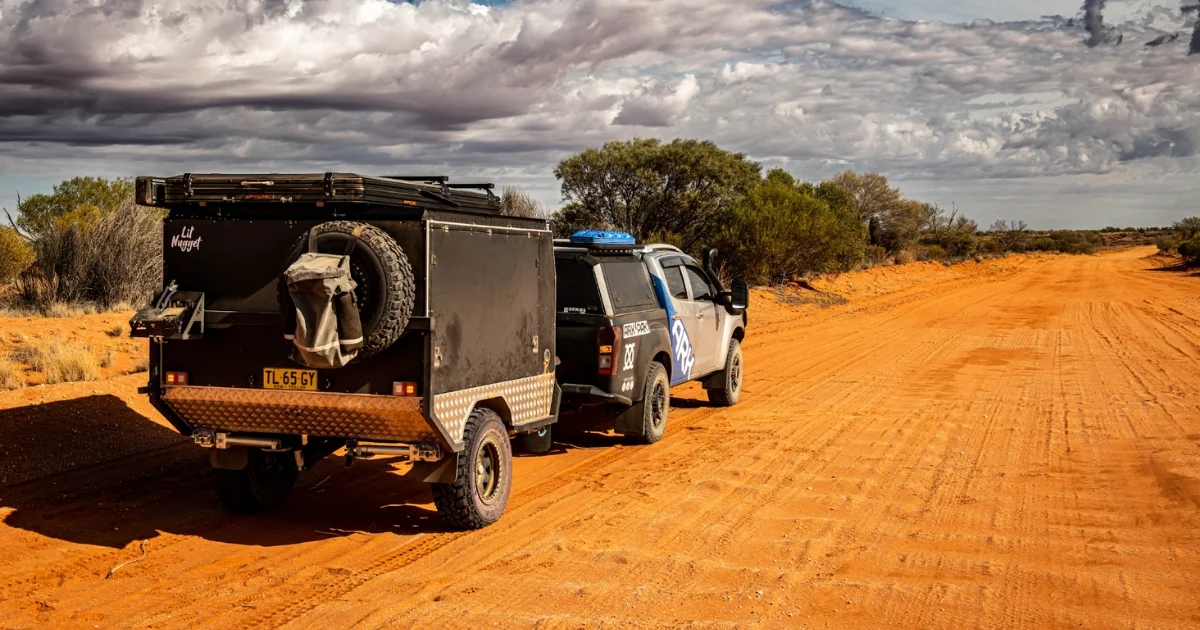
Heading into the wilderness or making your way into the outback with your 4×4 is all about embracing freedom, pushing boundaries, and, let’s be honest, showing off your gear. But here’s perhaps a cheeky truth: the best 4×4 accessory might not be the vehicle you’re driving, but something you tow behind it — a camper trailer.
Think of it as the ultimate mobile base camp where you can securely stash your belongings and hit the narrow tracks with nothing holding you back. This isn’t just about bringing along a place to sleep; it’s about enhancing your 4×4’s capabilities by adding a layer of versatility and comfort that only a well-equipped trailer can offer. So, as we dive into the essentials that make your 4×4 adventure flawless, remember it’s not just about the ride, it’s about the entire caravan of fun you bring along. Better still, when it comes to kitting out your trailer with the best off-grid essentials, Ark has all you need to get started.
Essential 4×4 Accessories for Your Adventure
True adventurers know that the essence of an off-road journey lies in its preparation. The perfect blend of gear not only elevates your experience but arms you against the unpredictable. And while we could talk all day about starlit skies and sizzling barbeques, let’s not forget the unsung hero of off-road escapades – the camper trailer.
Here’s a rundown of some must-save basic 4×4 accessories, paired with a nod to their trailer counterparts:
- Recovery Gear: Essential for those challenging moments when you or a fellow traveller need a bit of a pull to get back on track.
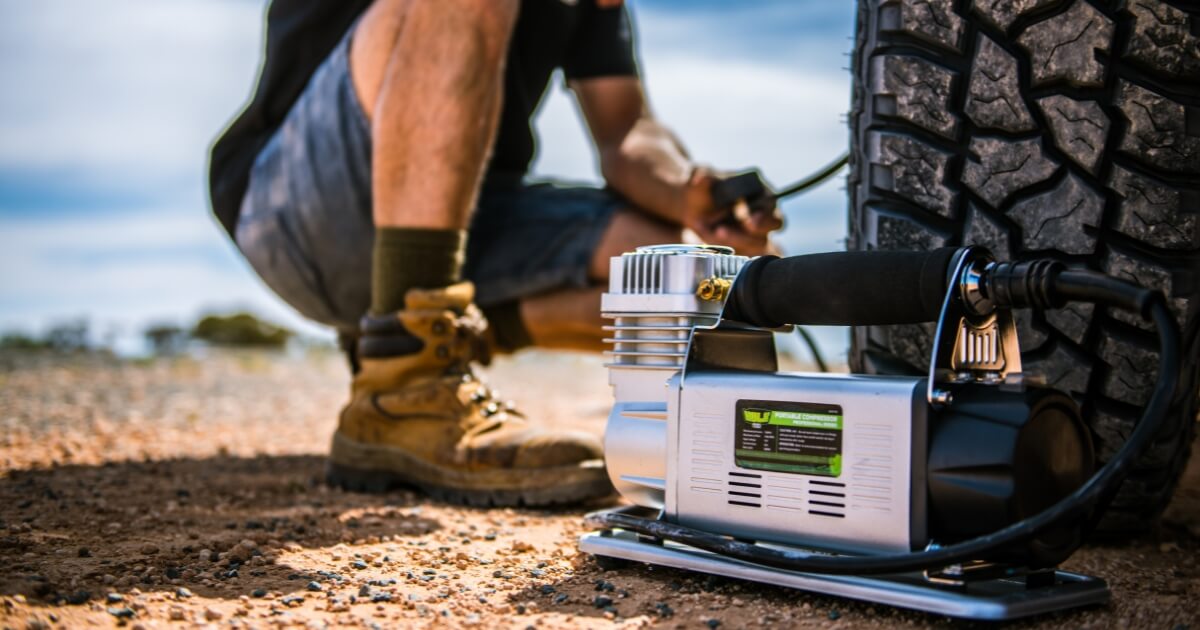
- All-Terrain Tyres: Equipping your 4×4 with tyres that can handle any surface ensures you’re ready for whatever the trail throws your way.
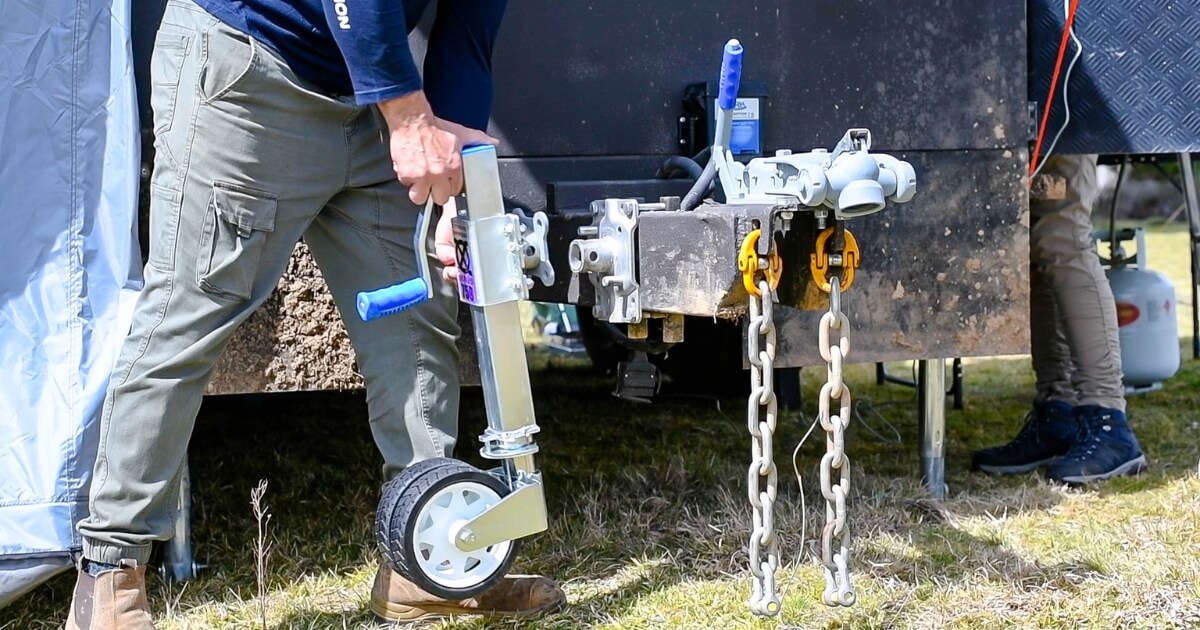
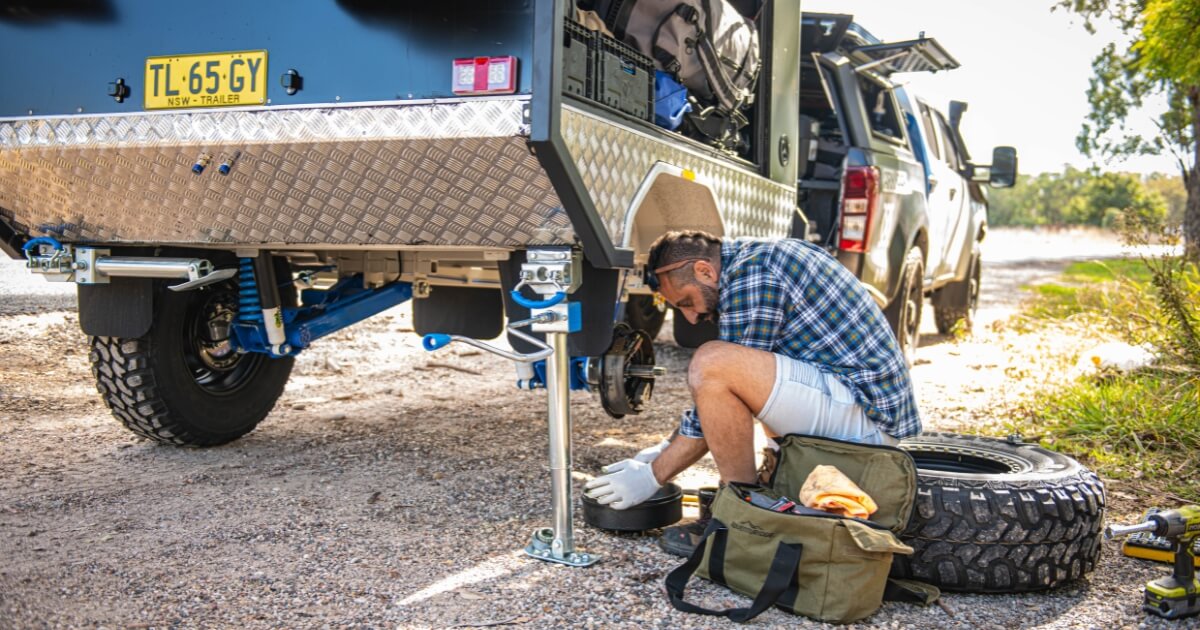
- Jockey Wheel: A vital component for manoeuvring your trailer in tight spots or when hitching and unhitching.
- Foldable Solar Panels: Keep your batteries charged and your environmental footprint low with portable solar power.
- ARKPAK APDC20: A portable power solution that ensures your critical devices remain charged, no matter how far off-grid you venture – pair with your PDH for ultimate control.
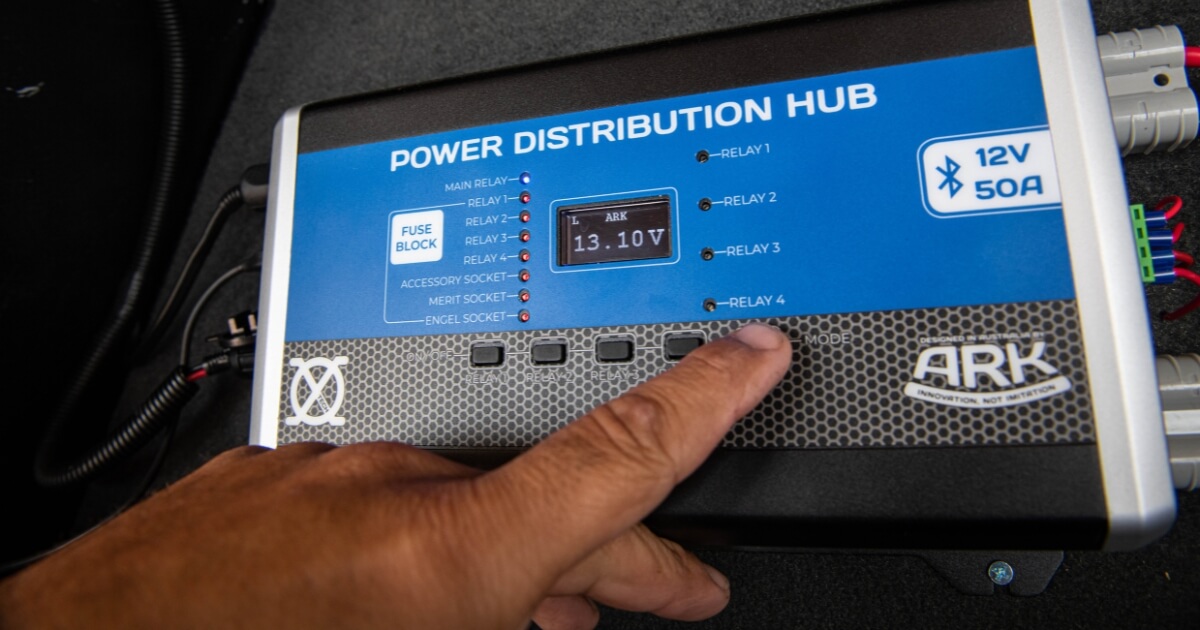
- Power Distribution Hub: Simplify your electrical setup with a hub that distributes power efficiently throughout your trailer.
- Winch: Not just for your 4×4—having a winch can also be a lifesaver for pulling your trailer out of sticky situations.
- Trailer Lights: Ensure you’re visible and safe, especially during night travel or in low-visibility conditions.
- Gas Bottle Holder: Secure your gas supply safely and conveniently, making cooking and heating hassle-free.
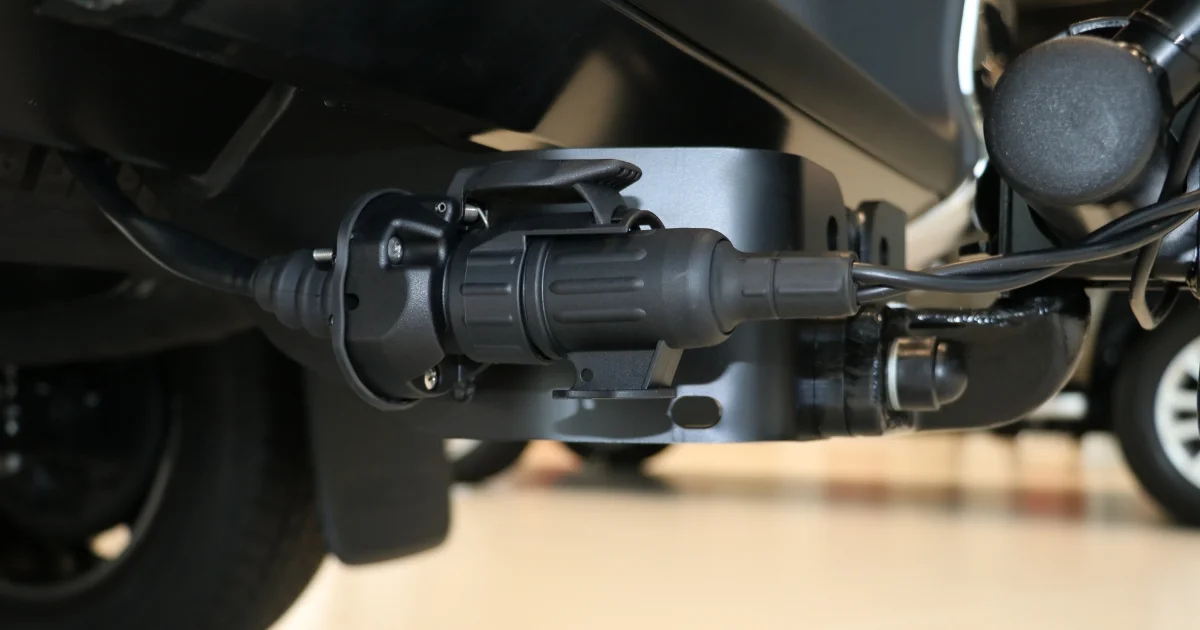
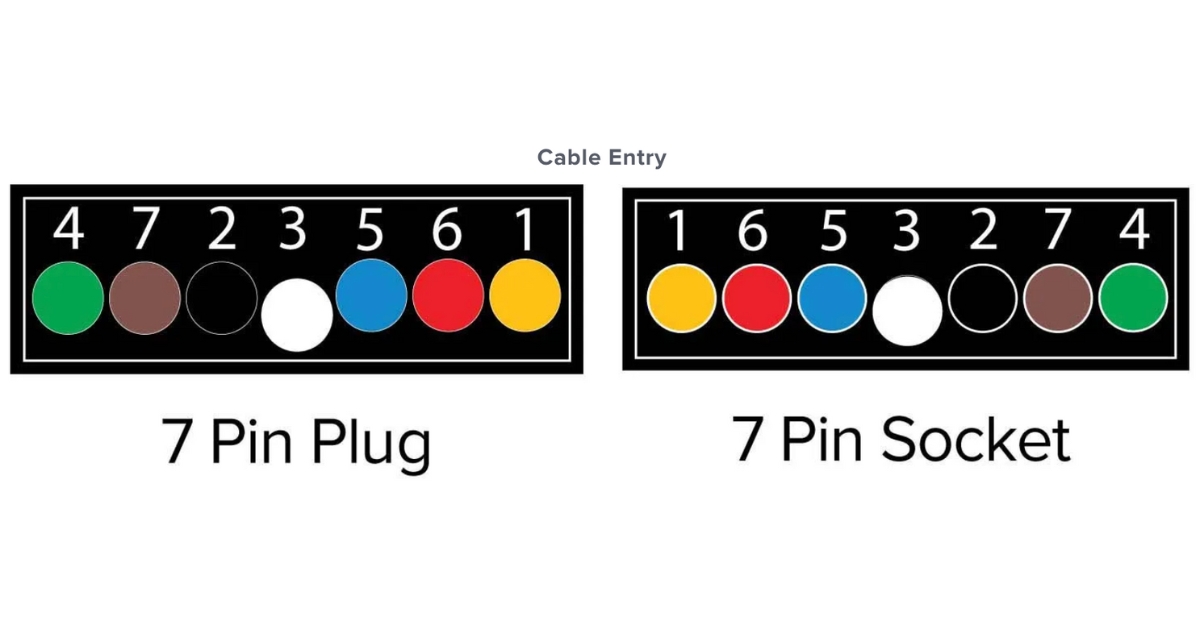
- Trailer Connectors: Reliable connectors are key to integrating your trailer’s electrical systems with your 4×4, ensuring lights and brakes work in unison.
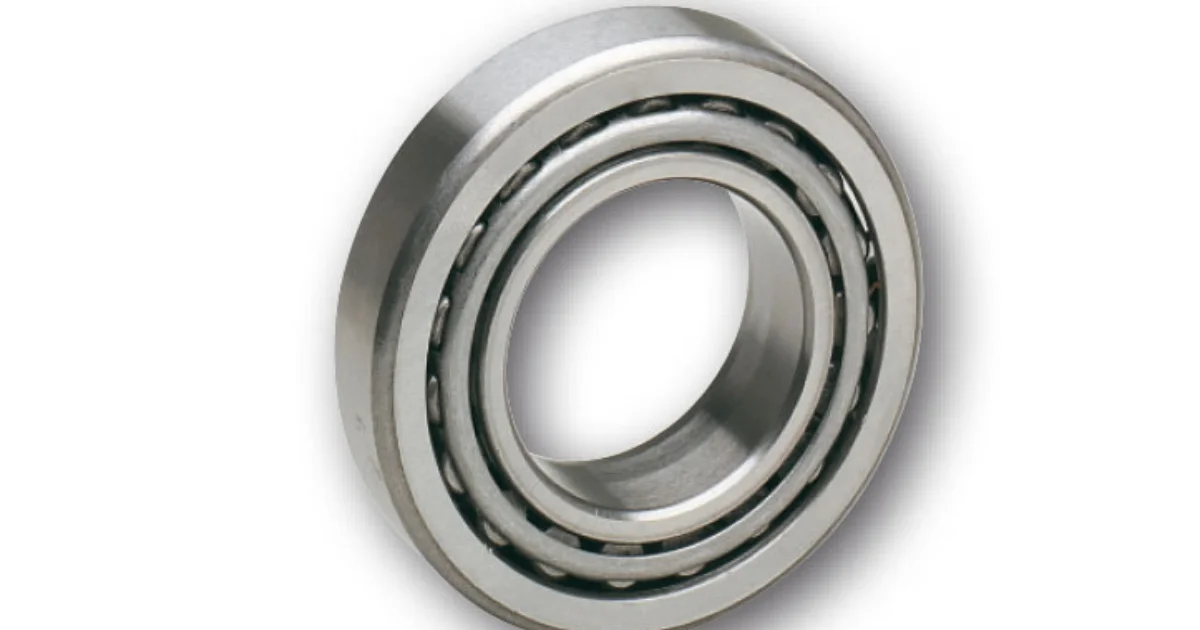
Pairing your 4×4 with a camper trailer equipped with the right accessories, like the Ark PowerPack for energy needs isn’t just about convenience— it’s about creating a seamless and enjoyable off-road experience. Ensuring your trailer lights are correctly wired or that your wheel bearings are in top condition is crucial for smooth sailing— or, more aptly, smooth trailing through the great outdoors.
What 4×4 Accessories Do I Need?
As you merge the worlds of 4×4 driving and trailer hauling, you realise the beauty lies in the details. Sure, your 4×4 is kitted out, but have you thought about the harmony between vehicle and trailer? Here are six off-road camper trailer accessories that are absolute game-changers:
- Trailer Lights: Keep things illuminated and legal.
- Wheel Bearings: Smooth rolling, happy camping.
- Jerry Cans: For when the adventure stretches beyond the last gas station.
- Trailer Wiring Kit: A bright idea to keep your lights on.
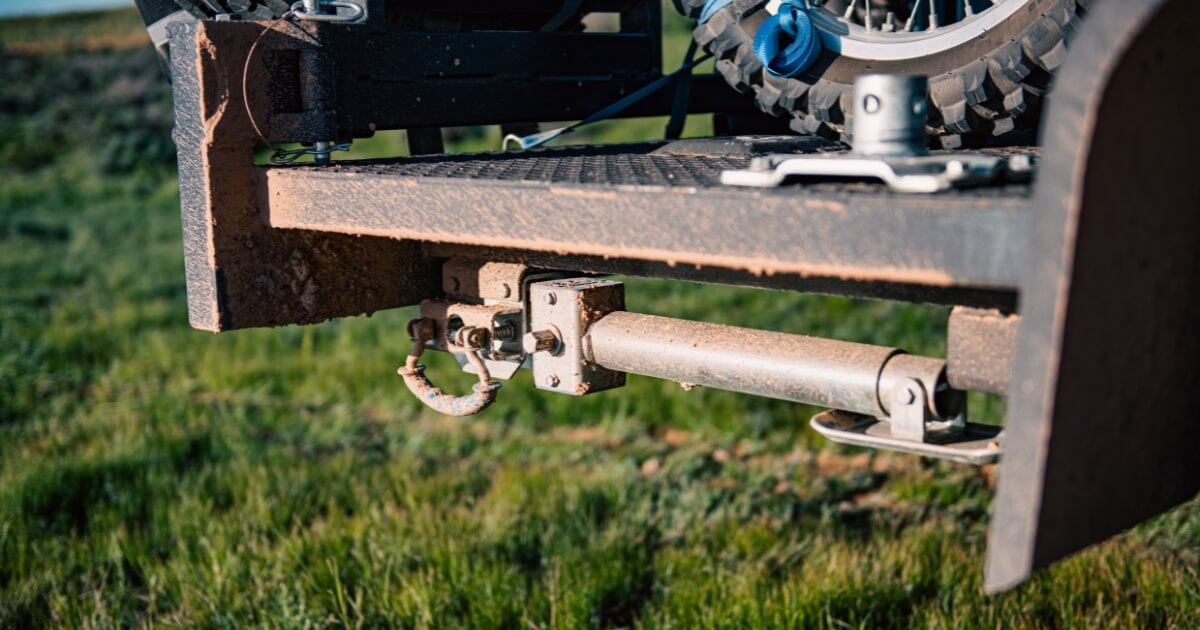
- Tow Hitch: The critical link between your 4×4 dreams and trailer reality.
- Water Tanks: Because hydration doesn’t just apply to the adventurers.
Equipping your trailer with these essentials means you’re not just prepared; you’re set for making memories. It’s about creating a seamless flow between your 4×4 and the trailer it pulls, ensuring both are adventure-ready.
Enhance Your Off-Road Experience: Must-Have Gear for 4×4 Adventures
Enhancing your off-road experience goes beyond just equipping your 4×4 with the basics. It’s about transforming every journey into an unforgettable adventure. With the right gear, each trip becomes not only a test of endurance and skill but also an exploration into the unknown.
Think of it where both the vehicle and its passengers can thrive in harmony with the environment. From ensuring reliable power sources to maintaining safety and comfort in the most rugged terrains, the accessories you choose can significantly elevate your outdoor excursions.
AP730P 300W Pure Sine Wave Inverter
Enjoy power just like you would at home — anywhere your adventure takes you. What sets the ArkPak 730P apart is its distinction as the only battery box on the market with an integrated AC-DC and DC-DC charger. By simply selecting a battery for the ArkPak 730P, you unlock portable power and a dual-battery alternative, making it an indispensable companion for any off-road or camping trip.
ArkPak Freedom Portable Solar Panels
To complement your power setup, the ArkPak Freedom Portable Solar Panels are a must-have for any eco-conscious adventurer. Available in 7W and 14W options, these panels are not only lightweight and compact but also come equipped with an automatic start function, ensuring you can charge your portable electronics on the go without a hitch.
XO Series Off-Road Electric Brakes
For those who take towing seriously, the XO Series Off-Road Electric Brakes are designed to endure the rigours of off-road travel. Featuring a longer-lasting off-road magnet design, waterproof electrical connections, robust return springs, and pressed studs and nuts included, these brakes ensure your trailer remains safe and secure on any terrain.
Front Loading Jerry Can Holder
The Front Loading Jerry Can Holder offers a practical solution for carrying extra fuel or water. Its front-loading feature allows for easy access in situations where top loading isn’t feasible, enhancing convenience and efficiency during your travels.
Tips for Selecting and Installing 4×4 Accessories
When it comes to selecting and installing 4×4 accessories, the process can be as exciting as planning the adventure itself. It’s important to consider compatibility, ensuring that each accessory seamlessly integrates with your vehicle. Opting for high-quality gear from reputable sources guarantees longevity and reliability, while functionality should never compromise style.
- Research Thoroughly: Before purchasing, ensure the accessory meets your specific needs and is compatible with your vehicle or trailer.
- Prioritise Quality: Opt for accessories from reputable brands known for durability and reliability, like those available at Ark Corp.
- Installation Expertise: For complex accessories, professional installation may be necessary to ensure optimal functionality and safety.
- Check Reviews: Look at reviews and testimonials from other adventurers to gauge the performance and practicality of the accessories.
- Plan for the Future: Select accessories that not only meet your current needs but also have the versatility to accommodate future upgrades or changes in your adventure style.
Equipping your 4×4 and trailer with the right accessories can significantly enhance your off-road experience. For the ultimate selection of gear designed to meet the demands of any adventure, Planning a quiet escape or a wild journey? We stock all of the essentials. Our focus? Quality, reliability, and eco-friendliness. Discover the latest must-have off-road power equipment at Ark and our online shop, today.